Disclaimer : This is only for Mac and Linux users.
Did you ever wish that your terminal was like your code-editor where commands would automatically complete themselves and there would be themes to personalize it?
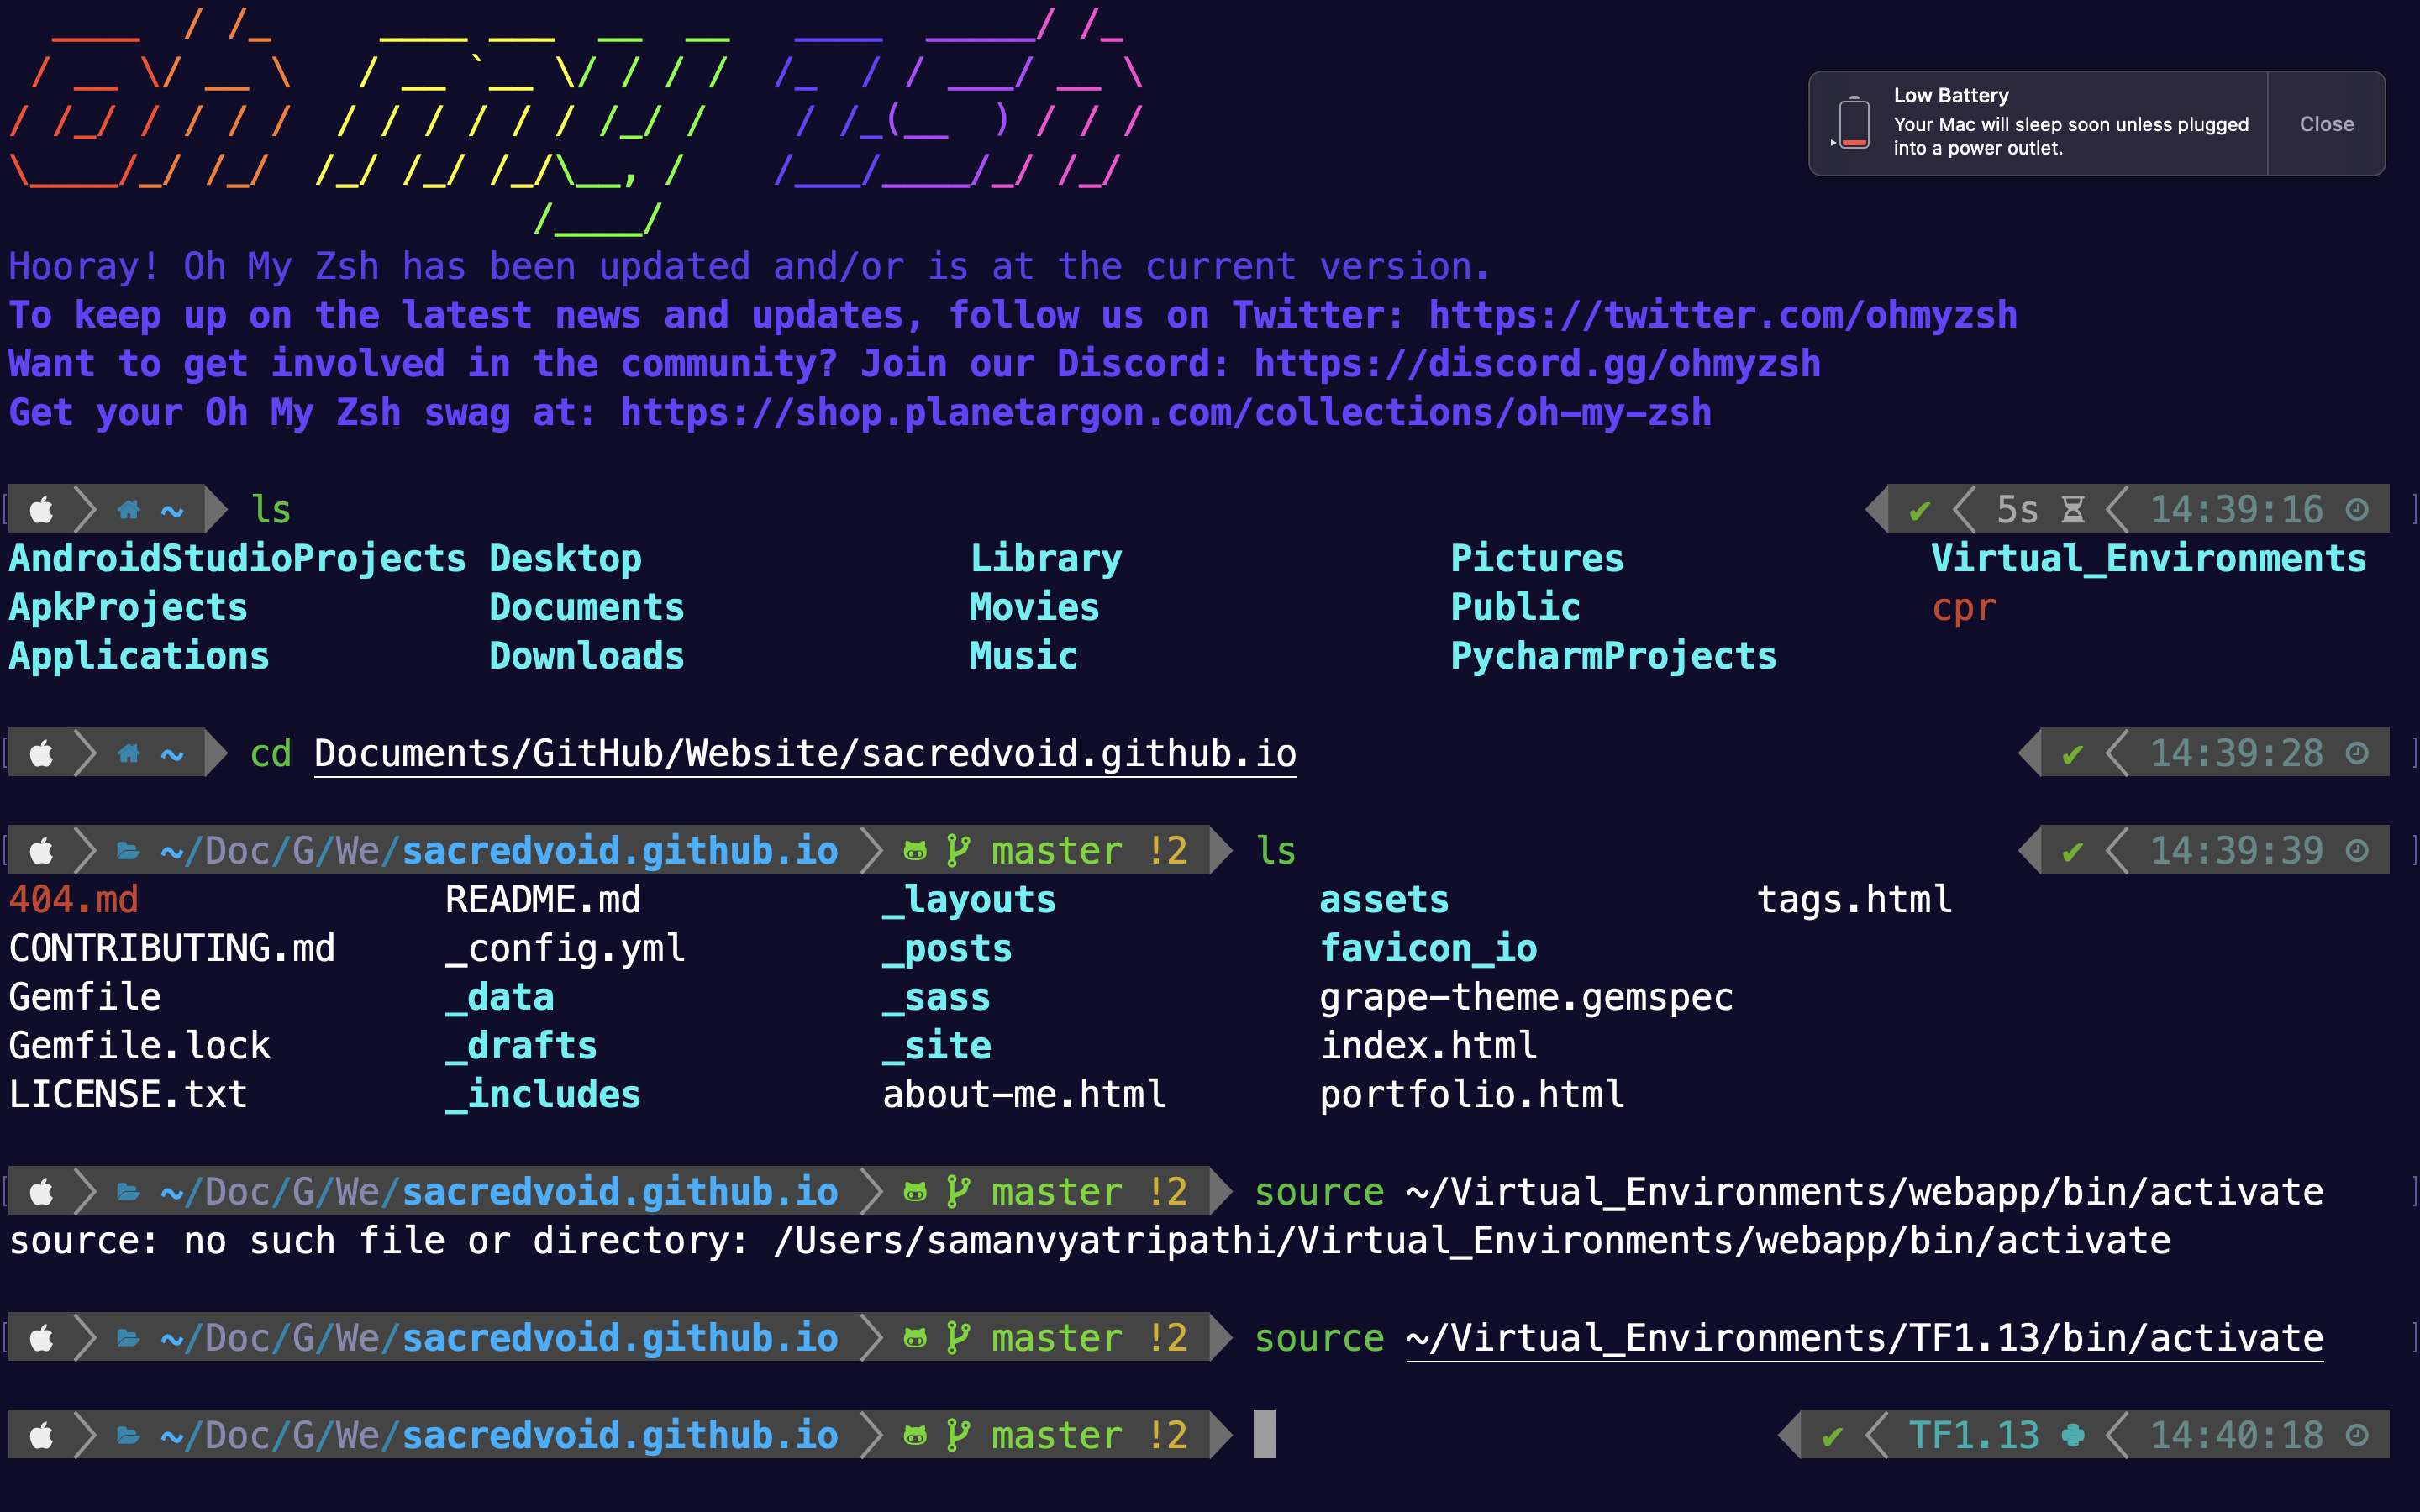
Well, there is a life saver out there called ohmyzsh which is basically like red-bull for terminals, it will give your terminal wings! (No, not really)
The Z shell (also known as zsh) is a Unix shell that is built on top of bash (the default shell for macOS) with additional features. It’s recommended to use zsh over bash. It’s also highly recommended to install a framework with zsh as it makes dealing with configuration, plugins and themes a lot nicer.
Oh My Zsh is an open source, community-driven framework for managing your zsh (another shell like bash) configuration. It comes with a bunch of features out of the box and improves your terminal experience.
Every coder uses terminal in some way or other, some more than others, but when you open that black box with a prompt, I think it just takes you back to the 1970s with that outdated look (imho). So let’s go ahead and install it on our systems.
Prerequisites: Git
Oh-my-zsh Installation Steps:
- Open your terminal and go to your home folder :
cd ~ - To install ZSH run:
- Linux :
sudo apt install zsh - Mac :
brew install zsh
- Linux :
- Once that is done, to install Oh My Zsh run:
sh -c "$(curl -fsSL https://raw.githubusercontent.com/robbyrussell/oh-my-zsh/master/tools/install.sh)"
This will prompt you if you want to change your default shell to zsh, upon which you should type in ‘y’ or ‘yes’ and press enter.
Voila! Your terminal is upgraded now. You can close the terminal and re-open it to see if the default shell is now zsh. If it’s not, you’ll have to logout and log back in to your computer for changes to take place.
Let’s add plugins to zsh now! Te plugins we will be installing are:
- zsh-auto-complete
- zsh-syntax-highlighting
- zsh-history-substring-search
Plugins Installation Steps:
-
Run the following commands one after the other:
git clone https://github.com/zsh-users/zsh-history-substring-search ${ZSH_CUSTOM:-~/.oh-my-zsh/custom}/plugins/zsh-history-substring-searchgit clone https://github.com/zsh-users/zsh-autosuggestions.git $ZSH_CUSTOM/plugins/zsh-autosuggestionsgit clone https://github.com/zsh-users/zsh-syntax-highlighting.git $ZSH_CUSTOM/plugins/zsh-syntax-highlighting
After downloading the required plugins, all we have to do is add them in our configuration file which is ~/.zshrc . Open this file in any of your favourite editors (vi, vim, nano, gedit) and find the ‘plugins’ option in your zshrc file.
Add the three plugins like this:
plugins=(git zsh-autosuggestions history-substring-search zsh-syntax-highlighting)
Save and exit from the editor, and then run the command:
source ~/.zshrc
This applies the changes you have just made. Now just type any command like git and it should get highlighted.
Cheers!